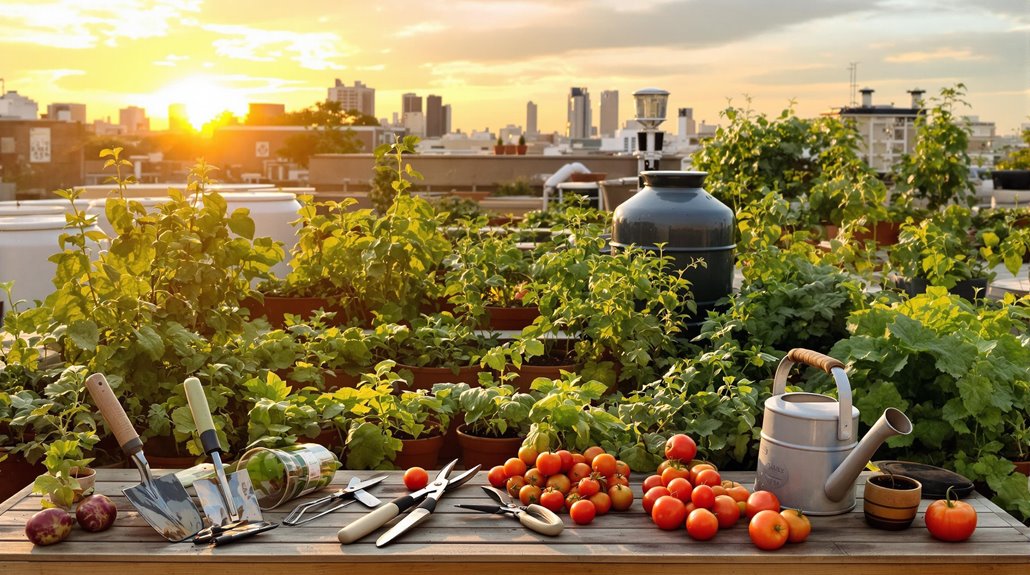
Starting a rooftop vegetable garden? First, evaluate your roof’s structure—can it support the extra weight? Next, select veggies that thrive in your climate and consider the sunlight available. Opt for compact plants and durable, adequately-sized containers with good drainage. Implement a drip irrigation system for efficient watering and establish a routine to check plant health and manage pests. Beginner or not, you’re well on your way to creating an urban oasis above the city! Continue exploring and you’ll discover deeper tricks of the trade.
Harvest Highlights
- Evaluate rooftop space and structural integrity to ensure it can support the weight of soil and plants.
- Select vegetables suited to your local climate and rooftop conditions, using compact and resilient varieties.
- Opt for high-quality, lightweight soil mixes and ensure containers have adequate drainage.
- Install an efficient irrigation system, like drip or sprinkler, suited to your garden size and plant needs.
- Regularly monitor plant health and manage pests with organic methods and natural predators.
Assessing and Preparing Your Rooftop Space
Before diving headfirst into the exciting world of rooftop farming, it’s crucial to first assess and prepare your rooftop space, ensuring it’s up for the task.
Start by checking your roof’s type—be it flat, slanted, or terraced—as this dictates your farming method. You’ll need to confirm the structural integrity to handle the extra weight.
Don’t forget to secure a building permit, adhering to local zoning laws to avoid any legal headaches later.
Evaluate the available space, keeping an eye out for any obstructions like chimneys or HVAC systems that could cast a shadow on your green dreams.
It’s worth noting that integrating solar PV systems on your rooftop can also reduce cooling loads, making your rooftop farm more sustainable and efficient.
It’s all about setting up a solid foundation—literally and figuratively—before you sow a single seed.
Selecting Suitable Vegetables for Rooftop Conditions

Now that you’ve confirmed your rooftop is ready for farming, it’s time to think about what to plant. Opt for veggies that match your climate: warm spots are perfect for tomatoes and peppers, while cooler areas suit leafy greens like spinach. If your rooftop faces temperature swings, consider resilient choices like Swiss chard and herbs such as basil. Full sun lovers, remember tomatoes and peppers need 6-8 hours of direct light, but if shade creeps in, lettuce and spinach are more forgiving. Finally, pick varieties that suit your space; compact types like ‘Bush Baby’ zucchini thrive in limited areas. For those with limited vertical space, using vertical planters can be a space-efficient solution to grow more varieties. This careful selection will guarantee your rooftop garden flourishes, offering fresh, homegrown delights right at your doorstep!
Essential Containers and Planting Options
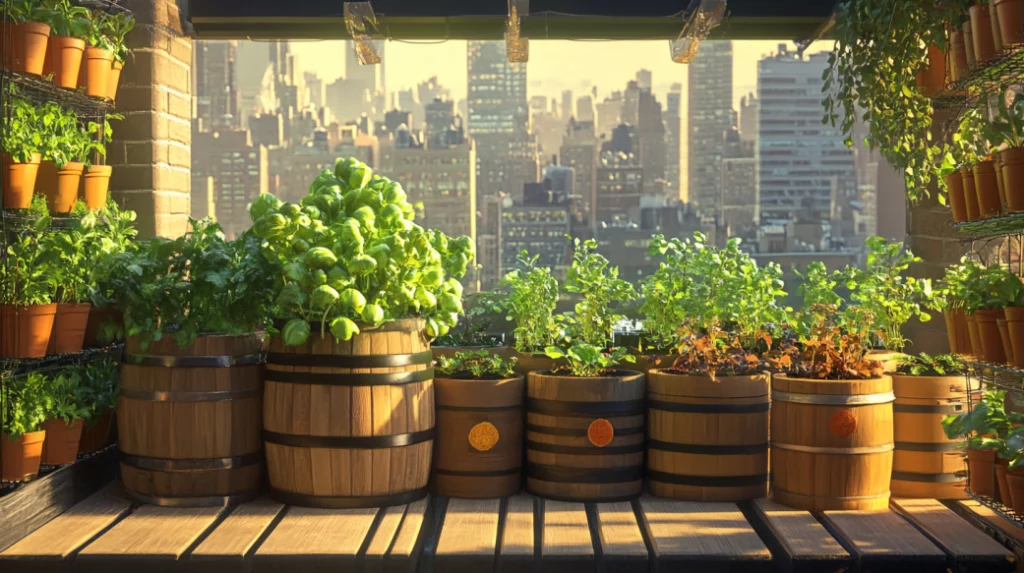
Once you’ve sorted out what plants will thrive atop your urban oasis, it’s time to plunge into the nuts and bolts of container gardening.
Choosing the right container is essential. Opt for durable materials like fiberglass, metal, or wood, which withstand outdoor elements better than terra cotta or plastic, especially in cold climates.
Remember, size does matter! Lettuce might be content with a modest 15 cm deep container, but tomatoes demand a more spacious 45 cm, and small trees won’t settle for less than 60 cm.
Confirm each container has drainage holes to prevent waterlogging—nobody wants soggy roots!
And for those windy rooftop days, heavier containers like wood or metal can stand their ground better against the breezes.
Additionally, considering the weight and stability of containers is crucial to ensure they do not compromise the structural safety of the building, especially in multifunctional spaces that include rooftop gardens.
Soil and Fertilization Techniques
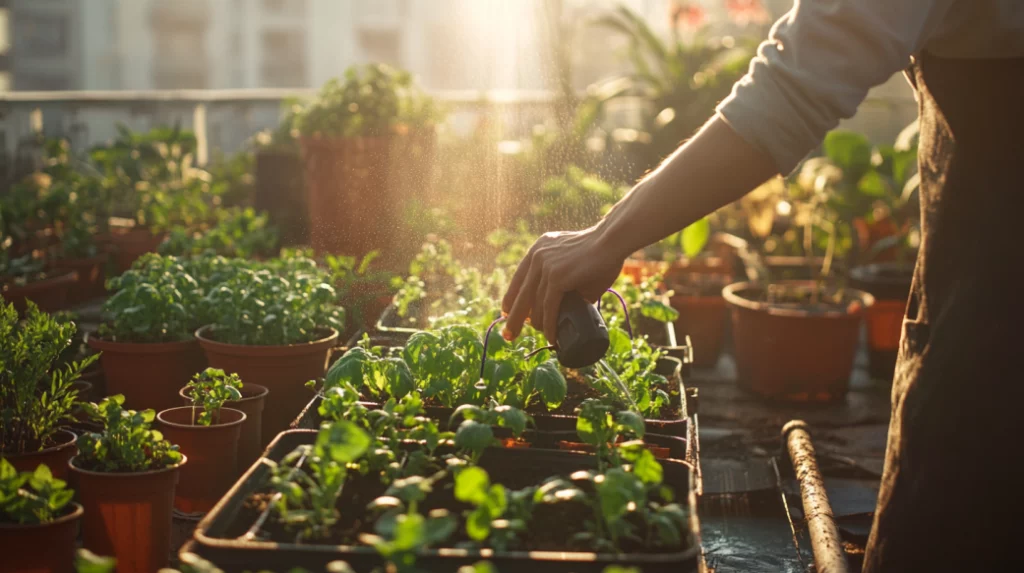
As you immerse yourself in the world of rooftop farming, it’s essential to focus on the right soil and fertilization practices that will guarantee your green space not only survives but thrives.
Choose a soil mix that’s light yet fertile, combining compost for nutrients, pumice or perlite for drainage, and coconut coir to enhance water retention. This blend guarantees your plants get the structural support and moisture they need without overburdening your rooftop.
Regularly apply balanced fertilizers and adjust the soil pH with lime to keep your garden flourishing.
Don’t forget to sprinkle in micronutrients like iron sulphate for that extra boost. With these steps, you’re setting the stage for a lush, productive rooftop oasis. Additionally, incorporating a new soil mix that has demonstrated significant yield increases in trials can further enhance your rooftop garden’s productivity significant yield increases.
Setting Up an Efficient Irrigation System
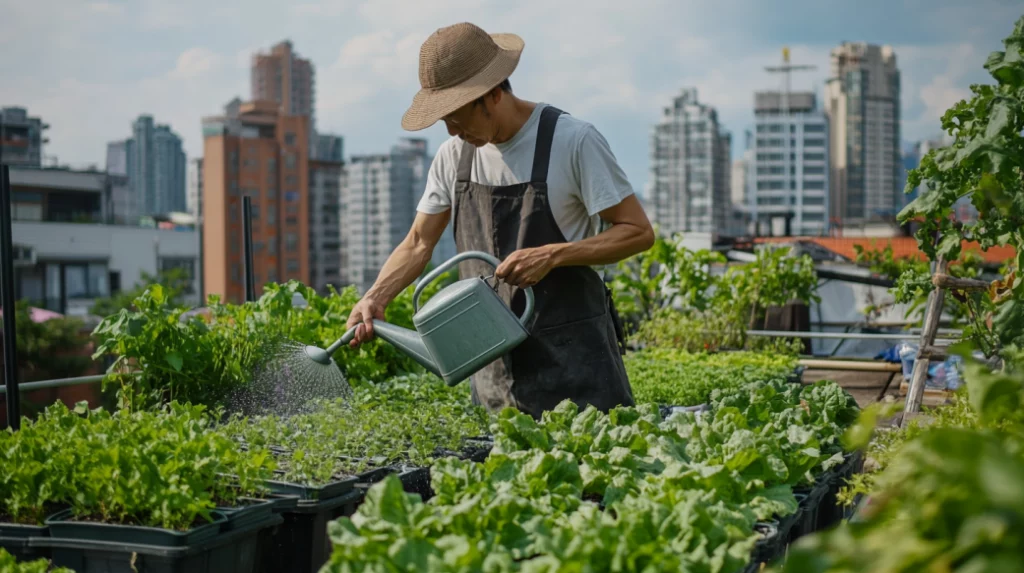
After mastering soil and fertilization, you’ll want to plunge into setting up an efficient irrigation system that keeps your rooftop garden lush without wasting a drop of water.
Considering the type of plants and soil, a drip system might be your best bet, delivering water right where it’s needed—at the roots. If your garden’s on the larger side, a sprinkler system could cover more ground, though watch out for evaporation.
You’ll need to factor in the rooftop’s capacity to handle the system’s weight and guarantee it meets water flow and pressure requirements. Remember to consider the local water allocation ordinances, as these will influence how much water you can use and at what times local ordinances on water allocations.
Key Gardening Tools for Rooftop Farming

You’ll need a few key tools to transform your rooftop into a thriving green space.
Start with the basics: durable gardening gloves to protect your hands and a trowel for digging and transplanting. A dibber makes planting seeds a breeze, and don’t forget the cobra head garden tool—perfect for those tough weeding and soil cultivating tasks.
For larger scale soil management, a broadfork will aerate your soil deeply without disturbing its structure, and a hoe is great for weeding and surface aeration.
Use a rake to smooth and prep your plant beds, and consider a Barebone Hori Hori for its versatility in digging and cultivating.
These tools will make your gardening efficient and enjoyable. Additionally, ensure you have access to a water source and electrical outlets for essential irrigation and power needs proximity to a water source and electrical outlet.
Managing Sunlight and Shade
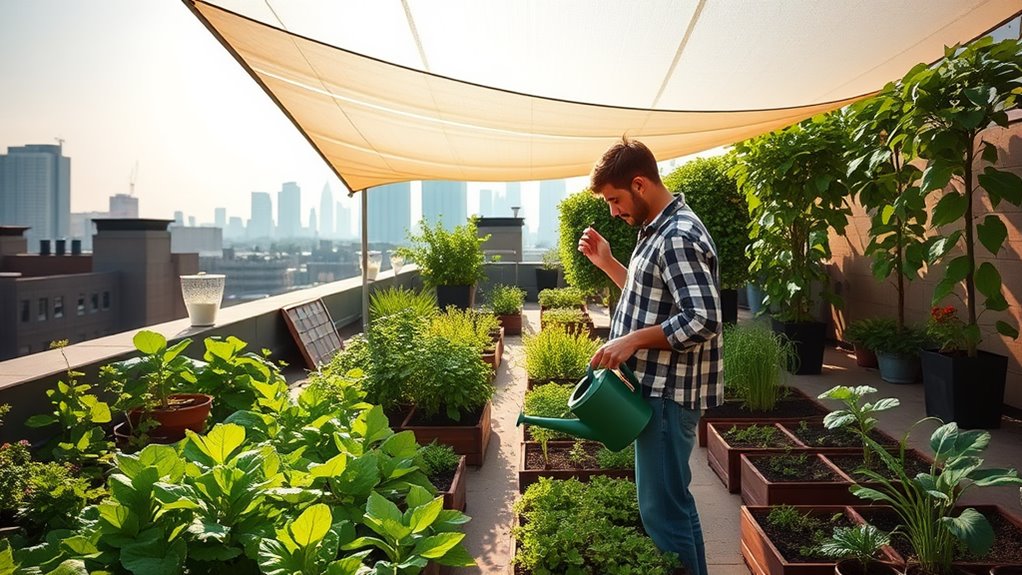
When you’re setting up your rooftop farm, managing sunlight and shade effectively becomes vital. Here’s how you can optimize these elements for your plants:
- Assess Sunlight Needs: Make sure your rooftop gets at least 6 hours of direct sunlight, vital for most veggies and fruits. Leafy greens will be happy with 4-6 hours.
- Choose Wisely: Go for sun-loving tomatoes and peppers, or shade-tolerant spinach and lettuce. Remember, compact varieties often fit best.
- Design Smart: Arrange your garden to maximize sunlight exposure. Raised beds and vertical setups can help.
- Adjust Regularly: As seasons shift, move your plants around to catch the ideal amount of sun, ensuring they thrive all year round.
To ensure optimal plant growth, it’s crucial to verify that your building can support the additional weight of soil and plants, which typically ranges from 40-75 lbs/sq.ft..
Wind Protection and Stabilization Strategies
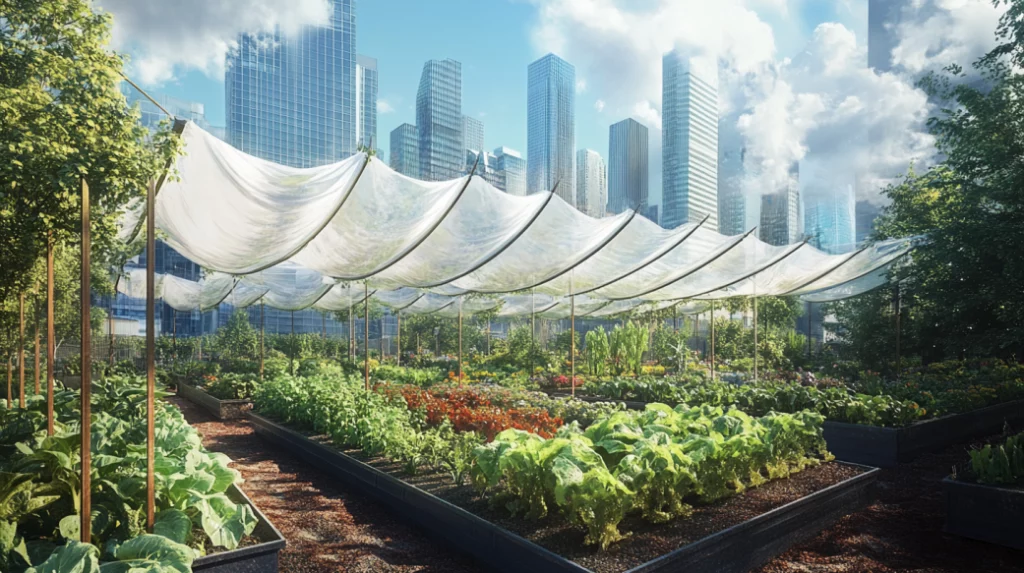
As you cultivate your rooftop oasis, it’s crucial to contemplate how wind can play the role of both friend and foe.
To combat its harsher effects, consider planting wind-resistant selections such as dense foliage plants like boxwood and ornamental grasses, which disrupt wind patterns effectively.
Implementing structural supports like trellises and windbreaks can also shield your garden, reducing wind speeds and preventing soil displacement. Secure individual plants with stakes or guy wires to prevent damage.
Additionally, a dense matrix of groundcovers can stabilize your soil, curbing erosion.
Daily Maintenance and Care Practices
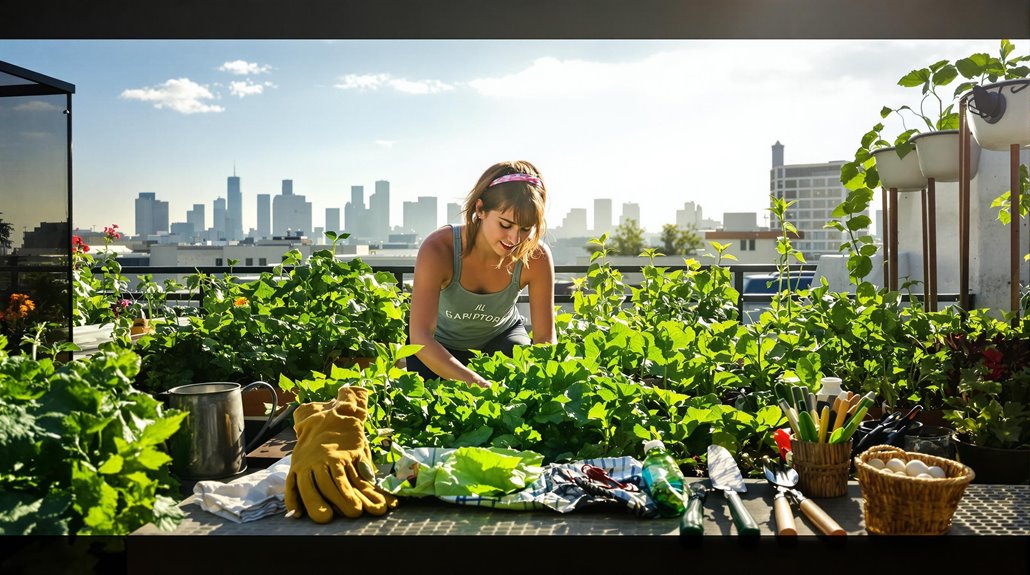
After setting up defenses against the whims of the wind, it’s time to focus on the nuts and bolts of daily maintenance that keep your rooftop garden thriving.
Here are a few essential tips:
- Water Wisely: Water early in the morning or late evening to maximize absorption and minimize evaporation. Consider setting up a drip irrigation system for efficiency.
- Keep Pests at Bay: Regularly inspect for pests and weeds. Use organic sprays or natural predators to manage them.
- Feed Your Plants: Apply organic fertilizers and enrich the soil with compost to keep your plants happy and healthy.
- Prune and Mulch: Trim dead or overgrown branches and apply organic mulch to conserve moisture and suppress weeds.
Monitoring and Enhancing Plant Health

If you’ve ever been curious about what your plants are up to when you’re not looking, monitoring and enhancing their health is your chance to play detective.
On your rooftop farm, the soil in containers degrades quickly, and nutrients might just wash away with the next rainfall. You’ll need to replenish these regularly, maybe even consider a fertigation system that feeds liquid nutrients straight into your irrigation setup.
Don’t forget to mix in some biochar; it’s like a spa treatment for your soil, boosting its health and your crops’ vigor.
But watch out, pests and diseases love these high-rise green spaces too. They’re sneakier up here, away from natural predators.
Early detection tech can be your best ally, letting you nip those nasty bugs and mysterious plant maladies in the bud before they turn your garden party into a plant wake.
Conclusion
Now that you’ve got the lowdown on rooftop farming, imagine your barren roof transforming into a lush, verdant oasis. You’ll swap the humdrum of city noise for the rustle of green leaves, trading gray for every shade of green. With the right tools, a bit of elbow grease, and regular TLC, your rooftop garden will not only thrive but become your new favorite retreat. So roll up your sleeves—it’s time to bring that concrete jungle to life!

